Seven things to do now that you’ve finished that painting
It’s finished! (Almost).
After four months of creative focus, I’ve just finished eight paintings in a large, new body of work. The summer included spectacular creative highs and lows, as well as a longish period when I was focussed on getting a website up and didn’t have a lot of energy left for the studio. Then Autumn, with its changes of colour and temperatures, brought renewed energy to push the group forward surely and steadily, as I completed the last tweaks and details one by one.
And here we are, over the finish line! It feels soooo good! Although I have a few personal favourites, I feel each painting is exactly where it is meant to be. Yippee!
Now I’m ready for a change.
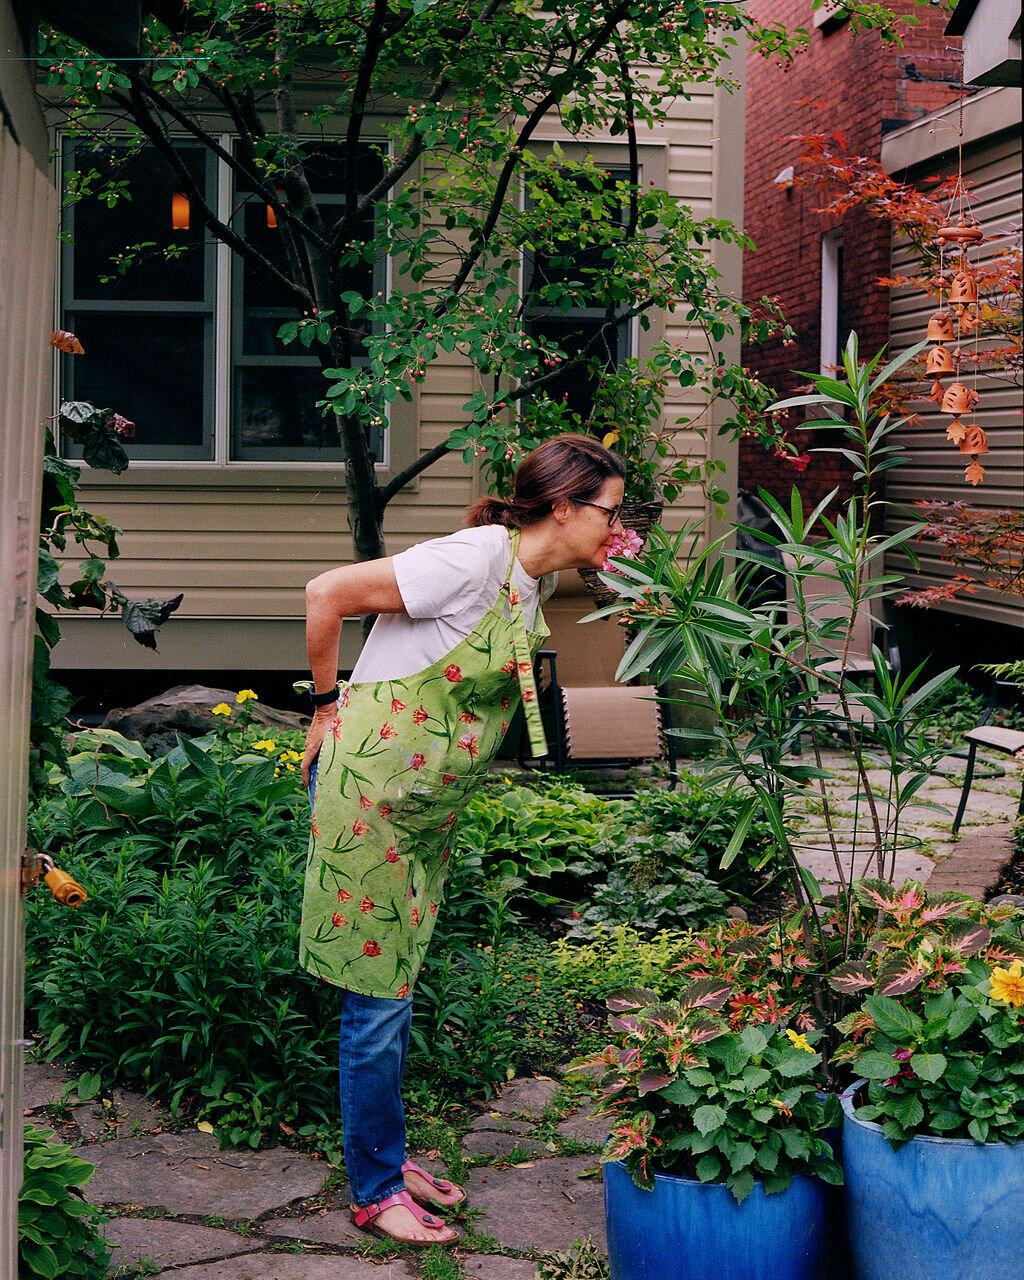
For me, that means spending more time outside, going for walks, or just
< swanning around in the garden.
It’s important to take this time away from the studio, to wind down and restore a bit, don’t you agree?
Having a break is a good idea…because we’re not actually finished yet!
There are seven more things that need to be done to make these painting ready to be put on display or sold.
So grab a tea or coffee and let’s see what’s next.
I’m going to give you an overview here, for the sake of brevity, and explain why each step is important…but at the end I’ll also give you my detailed workflow for this process, as well as a few extra resources relating to some of the steps.
1. Sign your work
I sign my work as soon as I’m clear that it’s finished. It’s a firm signal to myself the following day, for instance, when I start wanting to fuss with additional details. Or reconsidering colour choices. Let’s be clear - I’ve already allowed time for this kind of consideration, where I ask myself repeatedly if it is finished. But that time is over. The signature pulls me up short now, saying, “Finished! Don’t interfere with this! Go paint somewhere else!”.
2. Number and document the details of the piece
Each piece receives a unique code number, using a fairly common system: four digits, where the first two represent the year and the last two are the painting number. For example, the fifth painting I completed in 2020 was given the number 2005. The next piece would be 2006, and so on. This system works well unless you paint more than 99 pieces in the year, at which point you’ll need to adjust your system.

As well as the code number, I document a set of details I want to keep track of: the title, date, dimensions, media, and substrate. (You could also choose to note eventual sales information, such as the price and the buyer’s information).
I strongly recommend doing this as you go, or in small batches, because the alternative is far scarier: Imagine trying to recall and document all your work after the fact, going back several years!
3. Photograph your work
One regret I’ve heard artists express is not having photographed their work before it sold and was gone forever. This is your creative history, so don’t miss doing this! Chances are you’ll want this history somewhere down the line.

It’s worth the effort to get good photographs, whether you’re able to do that for yourself or prefer to have it done by a professional.
The photo should be taken straight on, in good light, and at the highest resolution you can manage. Done correctly, you’ll be able to use this image for multiple purposes, including making high-quality prints.
It can also be useful to have additional photos, such as close-ups of details, a framed version, a version taken at an angle to show the edge, or in situ shots.
Photographing before you varnish is important, because the varnish can create glare in photos that is quite difficult to overcome.
To stay organized, I keep all of a painting’s photos together, labelled with the painting’s code number; and I give each photo a file name that includes its code number, title, and whether it is high or low resolution.
4. Add images to social media and website if you have one
Now you’re ready to create posts using the good quality photos you’ve got, on whichever platforms you’re using to promote your work - Instagram, Facebook, Pinterest for instance. Perhaps you’ll also do a blog post about your new piece(s). All of this may ultimately be intended to send potential buyers over to your website, where you have also placed your new work! You can obviously do this step now or later in the sequence.
5. Protect your art
With the photographs done, you can now finish the surface of your work properly. Acrylic paint left on its own attracts dust and will become dirty and dull-looking over time. It will also gradually fade if it is exposed to light. Finishing your work with an isolation coat and varnish will help your artwork remain vibrant for many years into the future!

Begin with an isolation coat. I like gloss medium, because it enriches the colour and gives a sense of depth.
The isolation coat physically separates the underlying paint and the final varnish layers. Because varnish may need to be removed and re-applied after five to 10 years, the isolation coat physically protects your work during that process. Choose a UV-protective varnish to help your colours remain vibrant over the longterm.
6. Frame and attach hanging hardware
Whether and how frame your work is a huge subject, which I’m not going to tackle here! Suffice to say that this is the point in the sequence to have that done, if that’s your plan. You may also need to attach hardware at this point, so that your art can be hung on a wall.
7. Put details on the back
The final step is short, and because it’s usually the last thing I do before a painting goes out the door, it gives me a sense of satisfaction. On the back of your artwork, write the title of the work and date it. Optionally, you could also provide your contact information (i.e. an email or website address). I’ve seen artists write these sorts of details directly onto the back of the canvass, and others who affix a printed label. The latter is easier to do if you’re working on a wood panel or have a framed backing, but it would also be possible to attach a narrow label to a canvas stretcher.
And that’s it! NOW we’re done 😉
Acknowledging how much goes into preparing a painting for sale is surprising, isn’t it, especially for people who aren’t artists and have no idea all of this goes on behind the scenes. But it’s so useful to have this in mind, when you’re backing up your preparation timelines for a show or an online launch.
One way to take some of the pain out of this is to batch your work, and work in small batches. Staying on top of this, when you have 5-10 pieces finished, is doable.
I also find it helpful to have a workflow written down, and to use it as a checklist - so I don’t miss steps or do them out of order (varnished before you photographed? oops).
So I’ll leave you with my Finished painting workflow. Copy, save and print it. You’re welcome!
Additional resources
Looking for a straightforward guide to photographing art? Try this one: Photographing your Art Like a Professional.
For details on how and why to varnish your work, read: How to Apply Varnish to an Acrylic Painting.
How to Wire Artwork for Hanging is a good tutorial on adding D-rings and wire to canvas paintings.